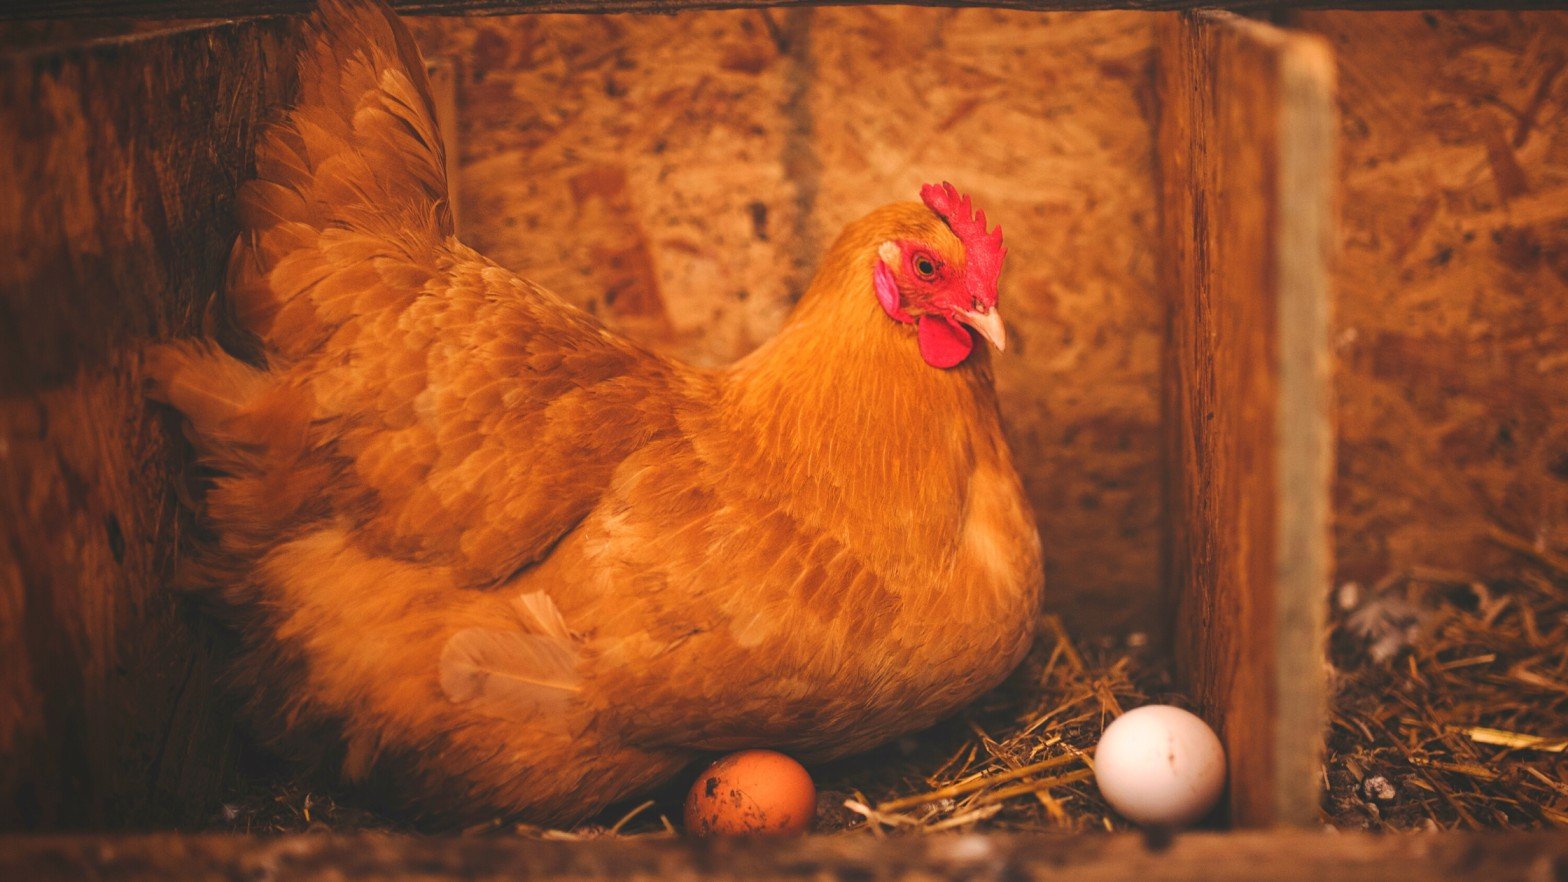
When a hen lays her eggs, she sits on it, and in 21 days, the eggs hatch. This is the same time it would take if the eggs were incubated using an artificial incubator. Hens are excellent mothers and will sit on their eggs for a long time, providing the eggs with the body heat they need to hatch eventually.
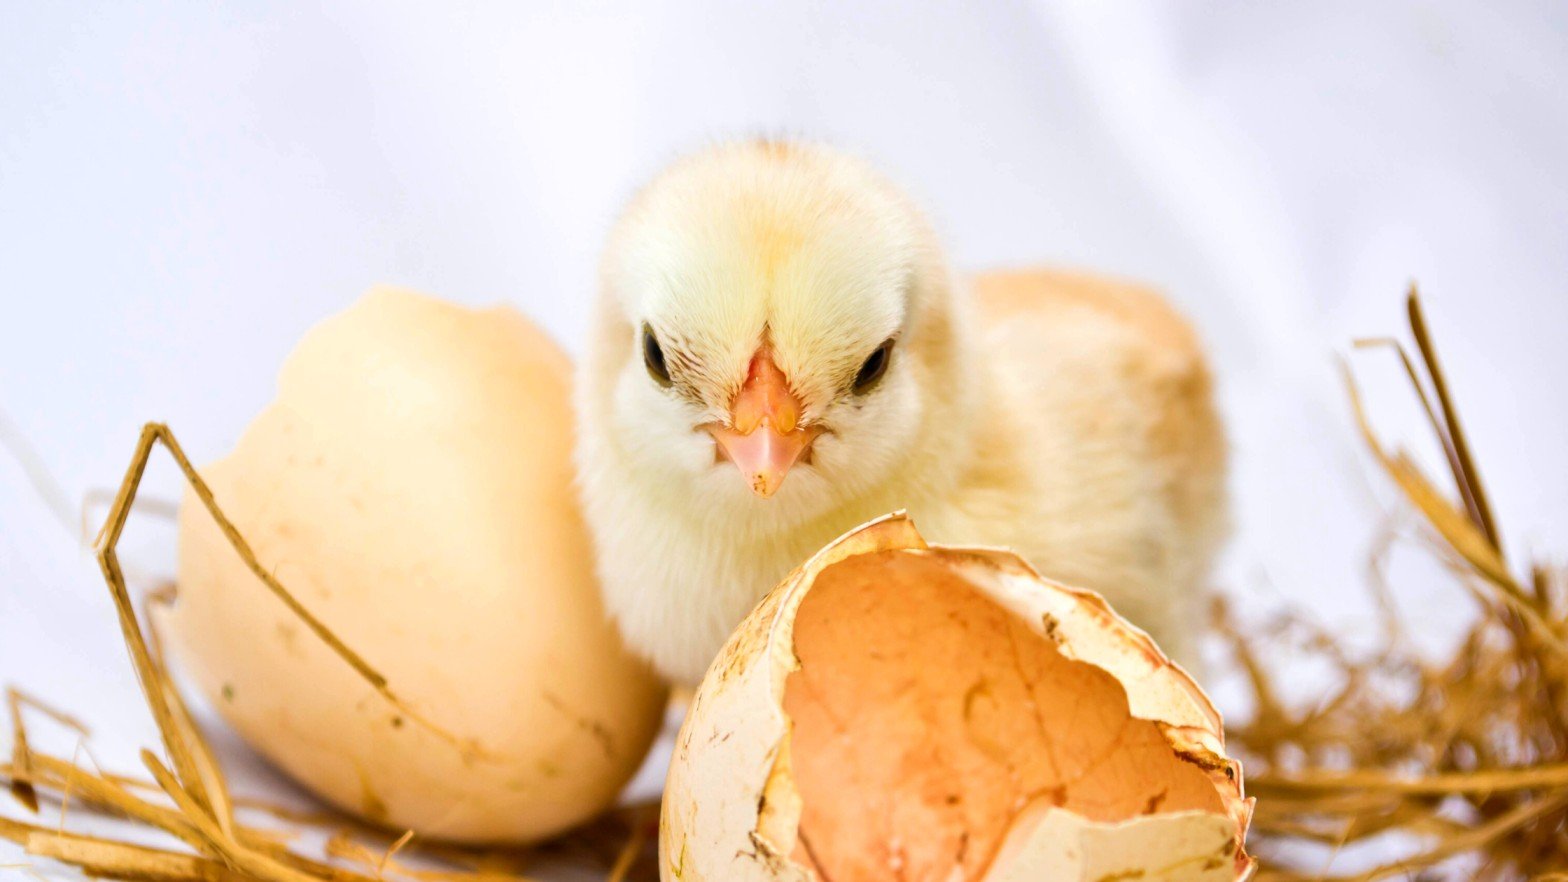
Some hens will pull out the feathers from their underside, giving their chicks more access to body warmth by providing direct access to the skin. Robins also exhibit similar behavior. Do you own an incubator, and you want to learn how to use it to hatch your fertilized eggs? Read on.
Hatching Eggs Using a Broody Hen
In this blog post, we will explore how to hatch a hen egg using a broody hen and an incubator. The hatching time for both is the same, but the dynamics at play are slightly different because one is alive, and the other is a machine.
Let us start by knowing what it means for a hen to be a broody. A hen is broody when she decides to sit on eggs to hatch them. As earlier stated, hens are excellent mothers and will sit on their eggs for a long time. They will even sit on unfertilized eggs for seven weeks in an attempt to hatch them. When a hen is broody, certain hormonal changes will occur in her body, ultimately changing her behavior.
You will know that your backyard hen has gone broody when she begins to act irritably when you disturb her as she sits in her nest box. She will also puff out her feathers to look bigger than she is as she tries to ward you off her nest box. She may even give your hand a taste of her beak when she is in her broody mood. You will ultimately know your hen is broody when her body language screams, “leave me alone!”
If you find your hen in this broody state, it is best not to do anything. Leave her be. If you let her do her thing, she’d sit on her nest box, and in the next 21 days, you will have new chicks to add to your backyard coop. The next paragraph will explain how you can hatch your chicken eggs using a broody hen.
Step 1
The first thing you want to do when you see that your hen is broody is to try and disturb her. You may wonder why we’re trying to pit you against a restless mother hen. Hear us out; While hens are great mothers, sometimes, they can’t decide whether they are ready to be mothers or not.
So, go to her nest box and ruffle her feathers a few times. Chase her out of the nest box and remove her eggs a few times. If she gives up and stops sitting on her eggs, then she isn’t interested in brooding. However, if she keeps returning to her nest box, she’s ready to be a mom!
Step 2
When you notice that she is ready to sit on her eggs, move her to a separate pen. You can also gather eggs from other breeding pairs and set them under her. If she’s broody, she will sit on all of them. This allows you to kill two birds with one stone.
Step 3
Now that your broody hen is in her coop, you can provide food and water for her. The food should be in a lesser amount than you normally give her. Don’t disturb her while she is sitting on her eggs. At 21 days, the chicks will begin to hatch. It could take a few more days for all the eggs to hatch. Be patient.
Downsides To Hatching Chicken Egg Using a Broody Hen
One of the issues of hatching eggs using a broody hen is that you can’t accurately predict what will happen. An artificial incubator is a machine that you can control and keep an eye on the process till the eggs hatch.
However, broody hens may become aggressive with her eggs and break them. Also, you may not be sure that the hen will go broody. That is why it is always important to check if the hen is broody by attempting to chase her off her nesting box.
Hatching a Chicken Egg Using an Incubator
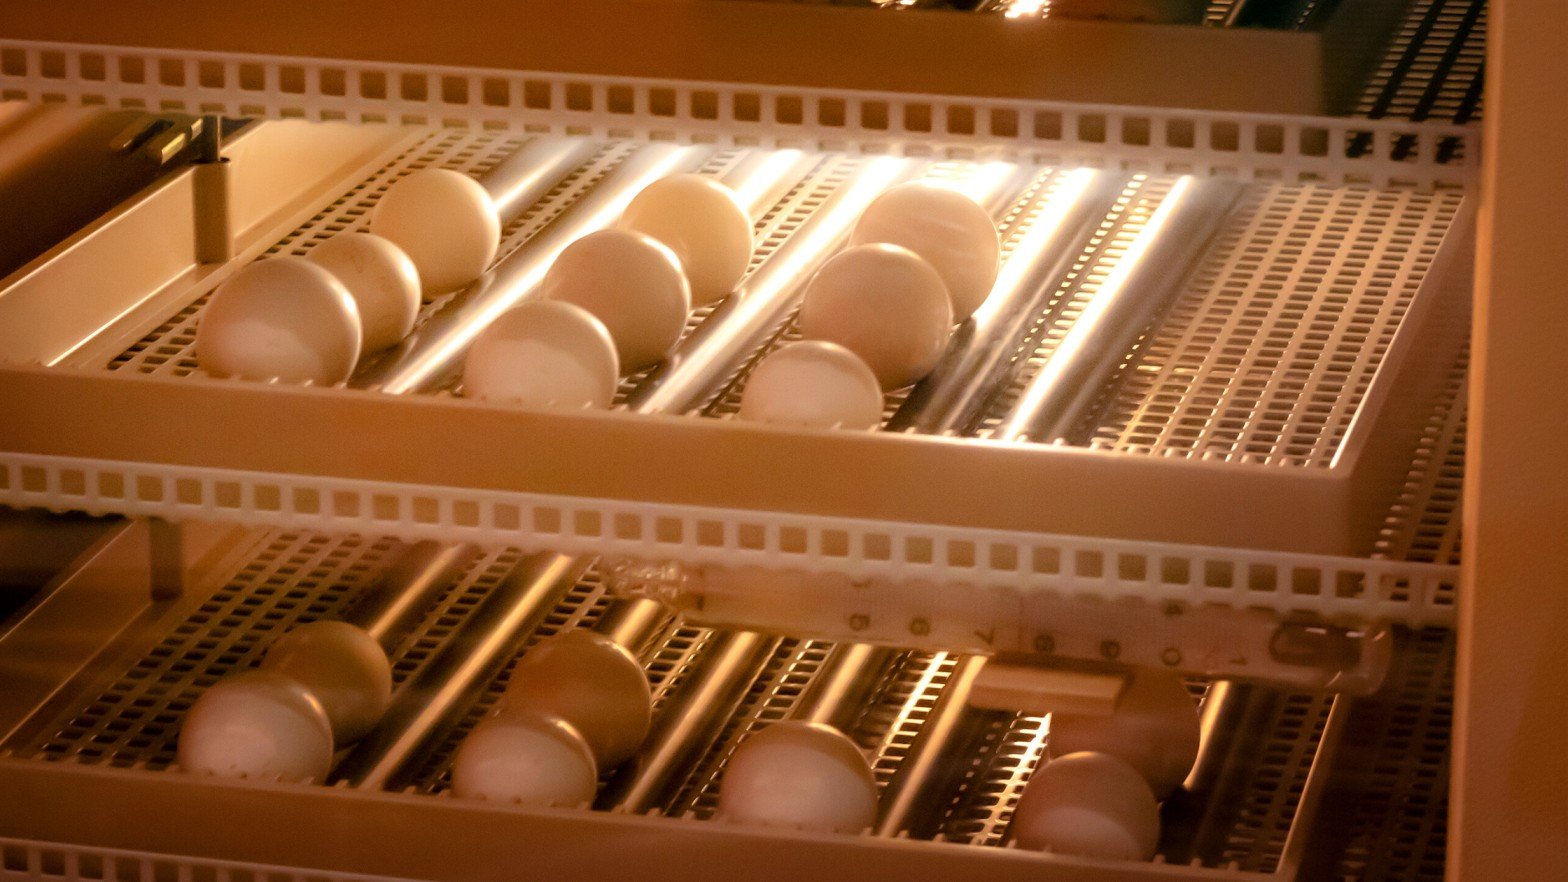
If you don’t have a broody hen, you can use an incubator to hatch your eggs. Hatching with an incubator comes with its advantages which include the fact that you can monitor the process for the 21 days. To help you understand how to hatch a chicken egg using an incubator, we have broken down the process into simple steps.
Step 1
Of course, the first step in artificial incubation is to get eggs. Fertilized eggs. You can get fertilized eggs from hens kept in coops with roosters. If you don’t want to start incubating immediately, you can store the fertilized eggs in a cool room with a temperature of 55-60 degrees Fahrenheit. Do not store the eggs in a refrigerator. A refrigerator is too cold and will kill the embryo.
Step 2
Now that you have your eggs, it’s time to start getting ready for the journey ahead. One of the ways to prepare for your chicks is to stock up on starter feed. Yes, the chicks need access to a starter feed as soon as they are born. The feed you choose will depend on your goals for the chicks.
Step 3
The next step is to set up your incubator. An ideal incubator should have a fan and a heater. The fan and heater will keep the eggs warm for 21 days. It is recommended that you buy an incubator that has automatic features. This makes setting the temperature and humidity to the right numbers easy. Some incubators will automatically turn the egg for you, saving you the stress of turning it yourself.
Turning the eggs is one of the biggest parts of successfully hatching a clutch. Birds like robins do it in the wild by standing on the rim of the nest and turning their eggs using their bill.
The incubator should be prepared seven days before the arrival of the eggs. You can prepare your incubator by washing it with a ten percent bleach solution. After washing with a bleach solution, wash the incubator using warm water. This would help you be sure that your incubator is completely sterilized.
After washing your incubator, please turn it on and monitor how it can maintain temperature and humidity. You don’t want an incubator that can’t hold a steady temperature because that could kill your fertilized hen eggs. After you are sure your incubator can maintain temperature, place it in an area that isn’t directly under the sun. Your preferred area should also be one that does not experience drafts.
Step 4
The next step is to set the eggs. You should set a minimum of six eggs at a time. If the eggs were shipped, placing less than six eggs at a time may result in your eggs not hatching. This is important because chicks are flock animals. They are happy to hatch in numbers.
Place the eggs in the incubator. The larger end should face up, and the narrow end should face down. Now, set the temperature at 100.5 degrees Fahrenheit and the humidity at 50-55%.
Step 5
Now that your eggs are set in the incubator. It would help if you committed to regularly turning your eggs. If you don’t turn them, you risk the embryo sticking to the eggshell and dying. We can’t overemphasize how important this step is to the success of your hatching.
Eggs should be turned in at least three times every day. To be on the safer side, turn the eggs five times daily. Mark the eggs using a pencil so that you can know which side you turn and the side you need to turn next. Before you turn the eggs, wash your hands, so you don’t transfer skin oil to the growing chick. Preferably, wear a glove.
Step 6
It is time to candle your eggs. Don’t worry; this doesn’t mean you burn your eggs using a candle. Similar to when one is incubating a duck egg using an incubator, candling is done using a flashlight.
Using a flashlight, shine a light on the egg. If the egg is growing, you’d see the clear development of the embryo. Do not candle all the eggs at once. Also, do not keep an egg you are candling out of the incubator for more than ten minutes.
When you are handling, there are some specific signs you are looking out for to determine if the egg is still viable or not. If the insides of the eggs are completely clear and devoid of any structures, there is a high chance that the embryo wasn’t feasible in the first place. Take such eggs out of the incubator.
If you see a red ring inside the egg, the embryo was once viable but is now dead. Take such eggs out of the incubator.
If you can see blood vessels inside the egg, there is a live embryo in it. You will be able to see blood vessels once the egg is seven to ten days old in the incubator. When the egg is eighteen days old, the embryo takes up the whole egg, showing up as a dark area inside the egg. You may even be able to see some occasional movement. Stop turning the eggs at day 18 with the larger end facing up. This is because, on day 18, the chick turns itself up as it prepares to break out of the shell.
Step 7
On day 21, the eggs are ready to hatch. If you cool the eggs during the incubation period, they take longer to hatch.
When the eggs start to hatch, allow them to break out of the shell independently. Some chicks may come out with blood vessels that haven’t dried up yet, and any attempt to pull out the check may cause the blood vessels to rupture.
When the eggs hatch, reduce the temperature of your incubator to 95 degrees Fahrenheit. Allow the chicks to dry before moving them to the already-prepared brooder. The ideal temperature for the brooding house should be 90-95 degrees Fahrenheit. Remember that you should also place a starter feeder and water for the chicks.
Five Problems With Hatching an Egg

It is not unheard of for chicks to come out deformed or dead when they hatch. If you are experiencing problems with successfully hatching your fertilized eggs, here are some possible causes.
- Eggs Not Showing Any Sign At Candling
If your eggs do not show any signs when candling, you may have not used your incubator properly. You may have also gotten the temperature very high, effectively Killing the embryo. It could also be due to poor nutrition in the parent’s diet.
- Infertile Eggs
If you have the bad luck of picking infertile eggs from your coop, you may want to check if the males are too old or if you have too many males in one coop. Also, check the nutrition and water quantity your flock is getting.
- Small Chicks
If the chicks are small when they come out of the shell, there is a high chance that the incubator’s humidity wasn’t well set. It could also be poor nutrition on the part of the parent stock.
- Chicks are Gasping
Seeing your newly hatched chicks gasping for air is always a harrowing sight. The possible cause for this condition is that the incubator temperature wasn’t at the recommended levels. Also, it could be that the eggs were stored too long or were stored poorly.
- Crippled Chicks
Crippled chicks were common when the incubator temperature in the last few days before hatching was excessive. It could also be due to poor nutrition on the part of the parent stock. Hereditary issues can also cause chicks to be crippled at birth.

